I love biscuits! Do you? If you are like me, a girl who loves biscuits, but must adhere to a rather strict healing diet, I believe you will be pleased to have this recipe in your repertoire. I created this recipe to accommodate my "free of" requirements (free of: grains, gluten, nuts, eggs, soy, sugar, dairy) and to stop my cravings for biscuits.
Before traveling, I am usually baking these biscuits to take along to keep my hunger at bay. They have seen me through many road trips. When not traveling, they are my favorite snack eaten hot from the oven or topped with pear butter spread for a delicious treat. I even like to squeeze my juicy grass-fed burger in these for a moment where I feel complete bliss with nothing missing or lacking! Until they fall apart as the hot burger melts the coconut oil, but that doesn't bother me at all. (Grain-free and egg-free baking does have its ups and downs!)
So you see, this recipe I created just for myself and I happily enjoy them!
In my opinion, these biscuits are full of super nutrients. The healthy, delicious and nourishing foods like coconut oil and chia seeds make this biscuit healthy like no other biscuit I know of.
In case you are wondering... What is the big deal about chia seeds? Chia seeds are a wonderful super food that I became acquainted with while looking for a great egg replacer. I think you will be delighted to learn that chia seeds contain eight times more essential omega 3's than salmon. Omega 3's in chia seeds have been clinically shown to be effective in preventing and reversing high cholesterol and heart disease. I think you get the idea that chia seeds are a healthy choice. There is much more to learn about them, but if I tried to tell you much more this post would get quite lengthy.
It is enough for me that "Chia" is the Mayan word that means "strength". I am all about adding food that gives me strength!
The coconut oil is a marvelous source of medium chain fatty acids which is the closest thing in nature to human breast milk. Researchers have concluded that 3.5 tablespoons of coconut oil a day is equal to the MCFA that a breastfeeding infant would consume in a day.
I will let you in on a little secret. These biscuits make me feel really satisfied and calm. Thus the name "Stop the Cravings Chia Biscuits": I often wondered why when I ate my biscuits in the morning and was busy making breakfast for the boys, cleaning the kitchen (many times dishes from the night before :() I felt as if I had eaten a big breakfast. My energy was good and all I ate was my biscuit. Really, I would have a brief moment trying to remember did I eat breakfast?
As usual, my curious nature had to find out "Why?"
What is the magic inside these biscuits?
The chia seeds?
I had to do a little researching to figure this out. That is when I found a video segment from the Dr. Oz Show, which I believe reveals a little "secret" about chia seeds. Dr. Oz's video, Try Chia Seeds to Stop Snacking, explains the wonders of chia seeds. After watching this video, my theory is that the addition of the chia seeds to the recipe is making me feel full. Dr. Oz illustrates this extremely well in the video. Plus, I am adding the healthy fats from the coconut oil which is keeping me full and feeling satisfied for a while. Anyway, I believe it's a winner. I like his tip, especially if you need assistance in feeling satisfied and overcoming cravings.
What do you think? Would you drink your chia seeds? Personally, I would rather eat my biscuits than drink chia seeds, but I will leave that decision to you. I love my biscuits and I share them just in case you are like me.
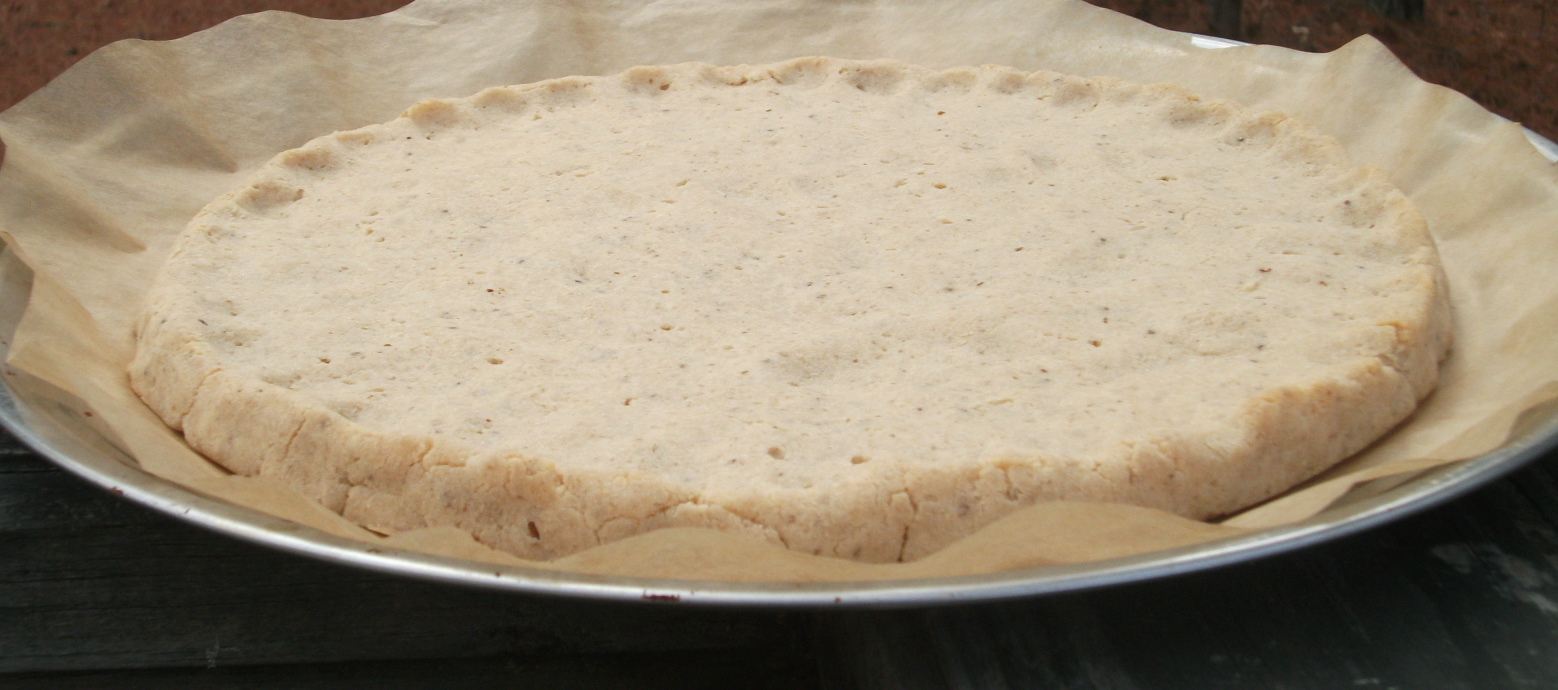
Stop the Cravings Chia Biscuits
Gluten-free, Grain-free, Dairy-free, Egg-free, Nut-free*, Soy-free, Sugar-free
- 7 tablespoons (1/2 cup minus 1 tablespoon) coconut oil (I use Tropical Traditions Organic Expeller-pressed. It does not have a strong coconut flavor - See blog sidebar for affiliate link.)
- 3 Tablespoons ground chia seeds (I use Navitas Naturals chia seeds, ground in a dedicated coffee grinder) or Navitas Naturals Sprouted Chia Powder (easiest to digest)
- 3/4 cup full fat, canned coconut milk, - (Natural Value is BPA-Free and guar gum-free) (or 2 heaping tablespoons of coconut creme concentrate and 3/4 cup water) or sparkling water (See my notes at the bottom of this post)
- 1 Tablespoon lemon juice, freshly squeezed or organic apple cider vinegar
- 3 Tablespoons Kime's Pear Butter Spread
- 9 drops stevia liquid (I use Body Ecology brand)
- 1/2 cup coconut flour (I like Tropical Traditions - see blog sidebar)
- 1/2 teaspoon baking powder
- 1/2 teaspoon baking soda
- 1/8 teaspoon sea salt
- Preheat oven to 350 degrees Fahrenheit
- Line a large baking sheet with parchment paper.
- Melt coconut oil in a medium-sized saucepan over medium low heat.
- Add to the saucepan the ground chia seeds, coconut milk, lemon juice/apple cider vinegar, pear butter spread, and stevia. Stir with a spoon.
- Add the dry ingredients - coconut flour, baking powder, baking soda and sea salt to the saucepan and stir until mixed well.
- Shape into biscuits with a spoon and your hands. Place biscuits on the parchment lined baking pan. Makes 10-12 biscuits.
- Bake for about 25 minutes.
- Store in the refrigerator unless on the road!
Notes: .
Why is important to seek out BPA-Free products?
In a nutshell, BPA blocks the methylation cycle which is crucial for the body to detoxify and make glutatathione, the master antioxidant. For each toxic molecule, we need a molecule of glutathione to remove the toxin from our body. That is vitally important for good health!
If you are healing your gastrointestinal system then you most likely want to avoid guar gum. Avoiding this additive makes a noticeable difference in my digestive system.
If I was unable to find BPA-free and guar gum-free canned coconut milk I would experiment and figure out how to make my own with shredded coconut and water. That is on my "to learn someday" list.
Over time, I have decided I love using the sprouted chia seed powder in this recipe. The sprouted version is highly digestible and my body likes it best. It is higher priced, so I leave that choice up to you.
Blogger Disclosure: I am an affiliate with Tropical Traditions, because I love and use their products in my recipes. Just so you know, if you are a new customer and purchase Tropical Traditions products through my blog links I earn a gift certificate of $25.00 for the referral. .